In the following pics I will shown you my taxidermy kit. I’ll go through the objects and what they do. If you are planning to train in taxidermy, you do not need all of the stuff I have. At the end of my kit I will give a small list of what I think is ‘essential’.
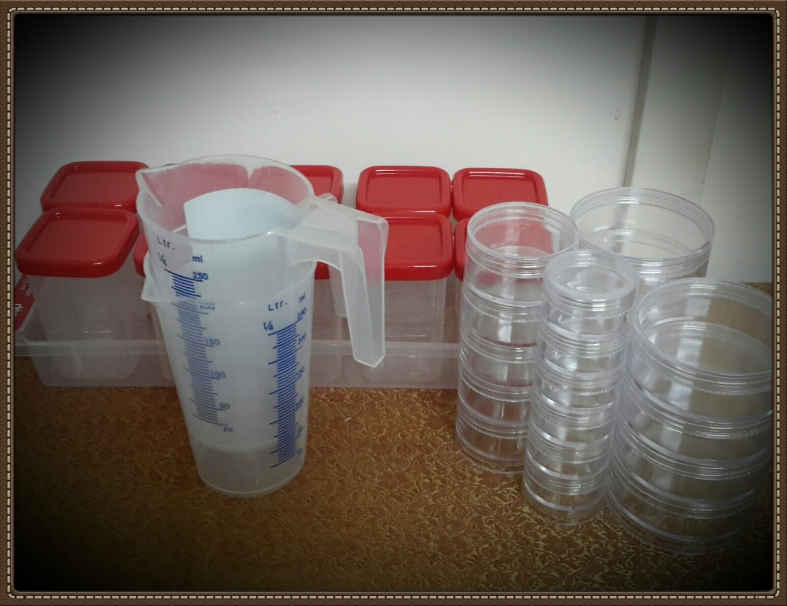
 In the top pic I have shown my basic containers for a small beginners project. On the right are small see-through dishes of different sizes. These are used for bones that need to be kept. You can easily place stickers on the top to identify what carcass the bones are from. I will discuss identification methods and data collection at a later post.
At the back are larger containers with red lids. These are used for carcass flesh that needs to be binned. Note the lids are well sealed.
On the left are measuring jugs, these are used to measure chemicals and other fluids.
The next photo shows the top shelf of my 8 litre kit. I have more ‘things’, that I have taken out. The shelf includes various lengths of thin balsa wood. These are used to hold back bits of carcass while you cut. I use craft ‘stretchy jelly’ wire. This wire is used in craft projects to make easy bracelets. I use it to tie arms or whatever to forceps or other braces. Other taxidermists use other products, but I have found the jelly wire to be flexible and not abrasive to the body.
I also bring spray tubes of disinfectant. Even though I would use good quality gloves, I would also use any standard disinfectant gel. Also good quality hand wipes. These are good for both your hands and dirty blades.

The above image shows products that are useful at various stages of the taxidermy process. After the flesh of the animal has been removed, it needs to be replaced with something else. Cheese cloth and cotton is sometimes used to stuff and shape the body. Taxidermists will build a ‘double’ of the flesh that they have removed. This would normally be built around a wire skeleton. As a general rule, the closer you get the cotton body to look identical to the original flesh, the better.
The paint strainer bags are used during the beginning stages of decomposition. If you are only wanting the bones of an animal, strainer bags are useful. One method of stripping the flesh from a carcass is to let the body sit in a sealed container of water. Some people change the water every now and then. After a while the flesh will decompose and make removal of flesh easier. Rather than have to sift through a tub of disgusting smelling meat, place the carcass in the bag and then put it in the tub of cold water. It just makes a nasty job a little easier. Be warned, the water will have the worst smell on the planet.
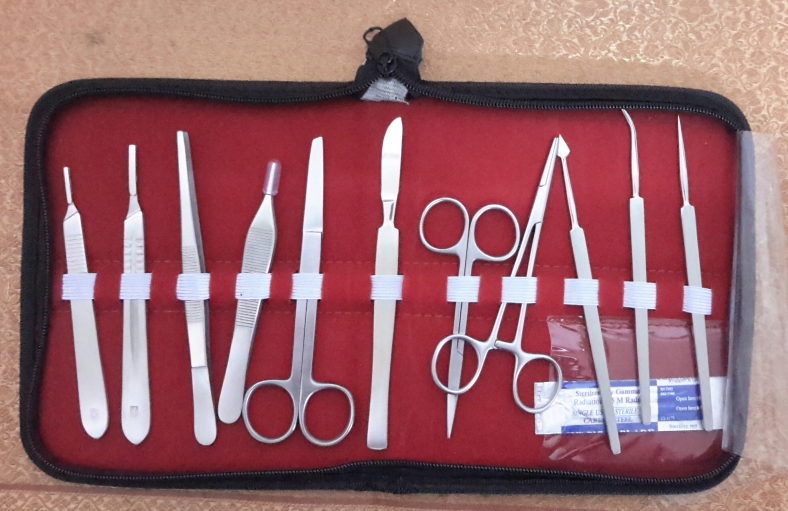
Here is my dissection kit. Good veterinary kits can be found on ebay, that is where I found mine. Don’t bother with cheap scalpels and scissors from craft shops. You will need a vet / surgeon grade scalpel, with spare blades. You can do with 1 scalpel and 1 pair of scissors, but they must be good quality.